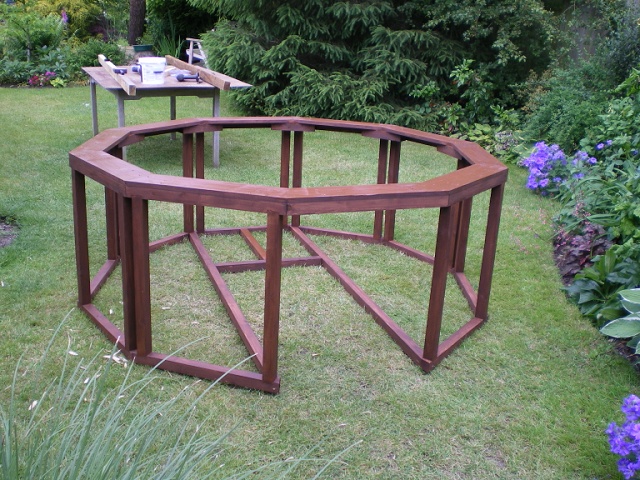
One of the turret frames, upside down. 50x50mm timber all
round except for the base which was 150 x 25mm.
|
 |
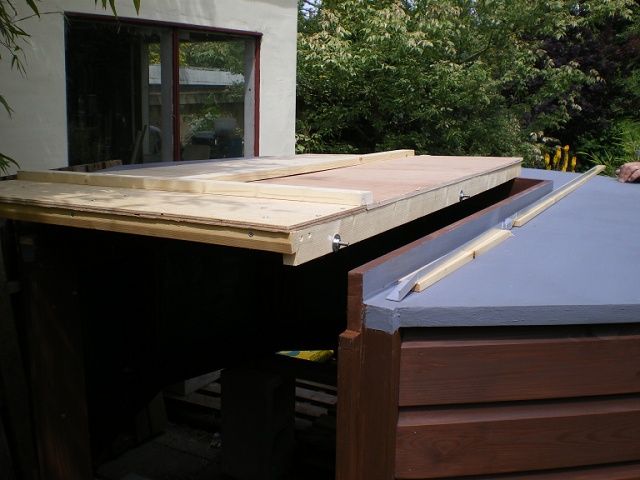
Clad as before with shiplap
and
a
polythene
lining. 12mm ply for the roof edged with 25 x 25mm to
form a drip edge..
The top shutter was made
from off cuts of the main roof, This was a mistake as the joins leaked.
These were replaced by new single piece panels. The roof was sealed
with Thompsons Roof Seal. This now needs replacing , after less than
two years, and it is my intention to use self adhesive roofing felt.
The aluminium strips are
shaped to allow the front lip of the shutter to clear the upstand when
it is rolled back. The wheels are 50mm diameter from those nice people
at Screwfix.
|
 |
The turrets were
constructed on the patio, all wheels were fitted before moving to the
observatory.
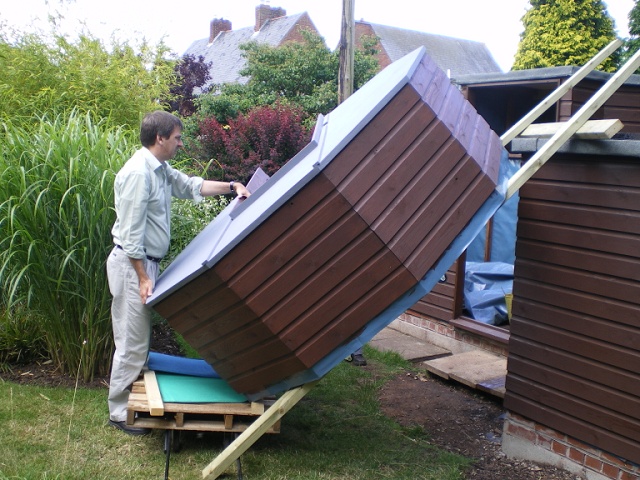
Ready to lift.
|
 |
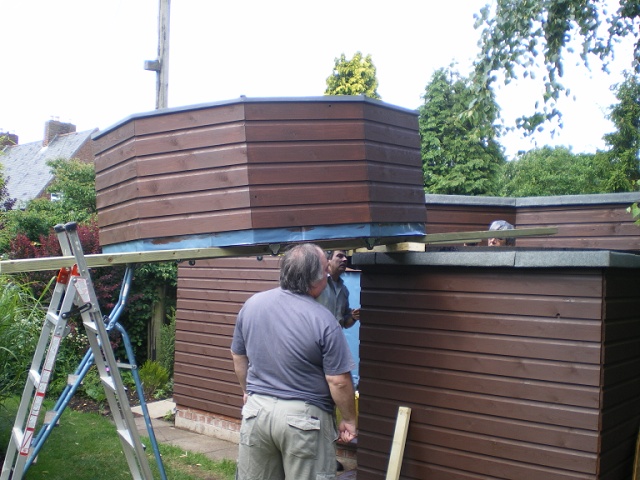
Almost there. The support wheels can just be seen. Great care had to be
taken at this stage to ensure that the upstand was not damaged.
|
 |
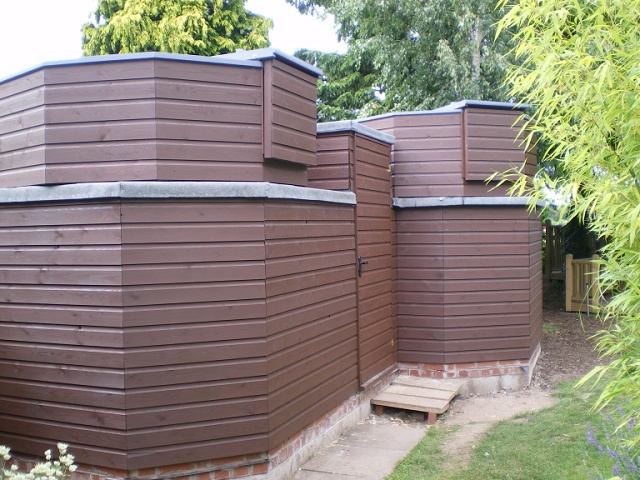
Externally complete.
|
 |
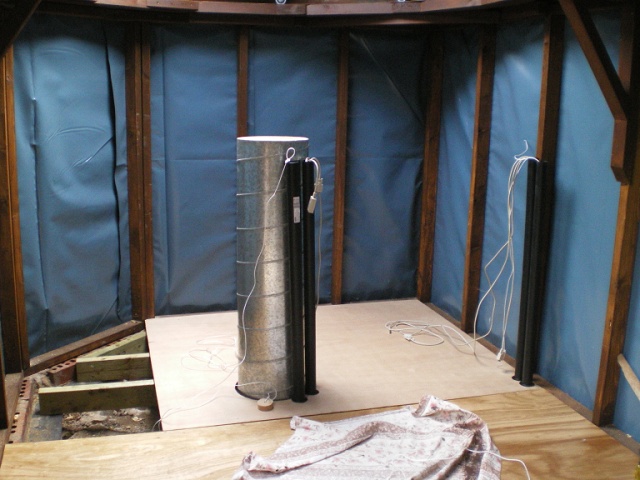
The floor was laid. 38mm waste pipes were used to carry cables to the
pillar. The original idea was to provide 12v supply to each
pillar. In practice this did not work, so mains power was installed.
Although very neat the pipe is tight round the corners when pulling
some cables round, especially serial cables with fittings. A single
larger diameter may have been better
|
 |
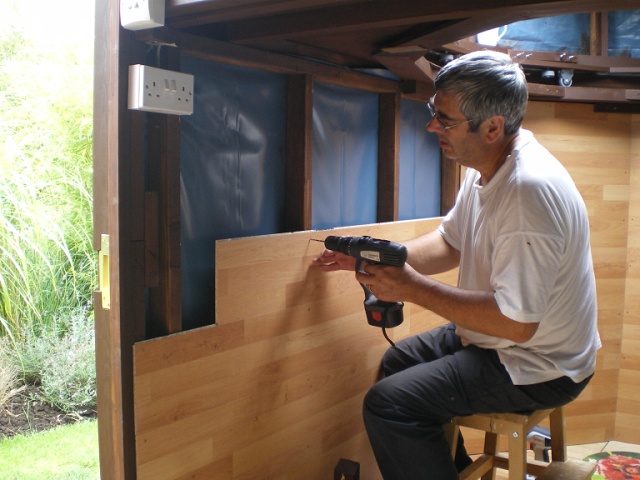
Inside walls were clad with laminate flooring. It was on special offer
at the
time, needed no finishing and there was little waste .
|
 |
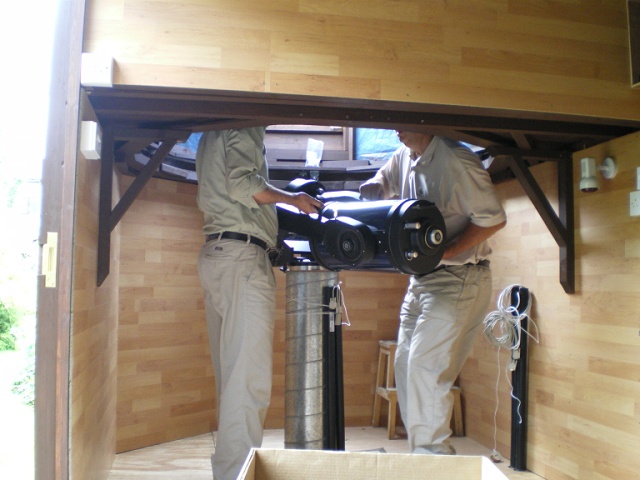
The 10" reflector had been replaced with a 10" LX200 GPS. Here we see
it
being lifted onto the newly aquired Mega Wedge.
This shot also shows the gallows that had to be put in place to support
the roof and base ring.
Power sockets and a red light can also be seen. The red light is on a
dimmer switch.
|
 |
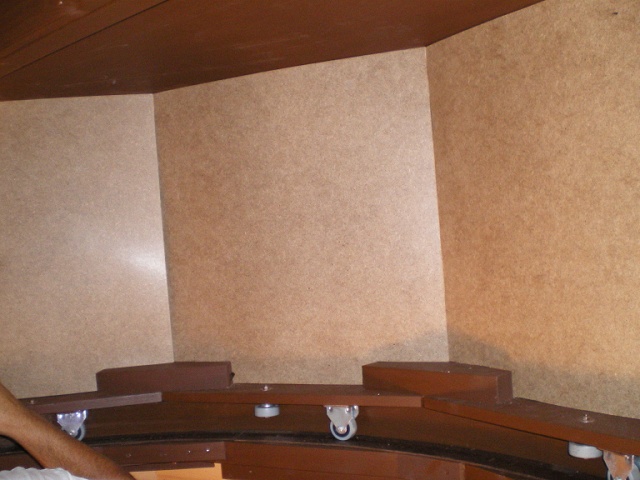
Finally the inside of the turrets were clad with hardboard. This now
needs painting matt black to prevent reflections.
|
 |
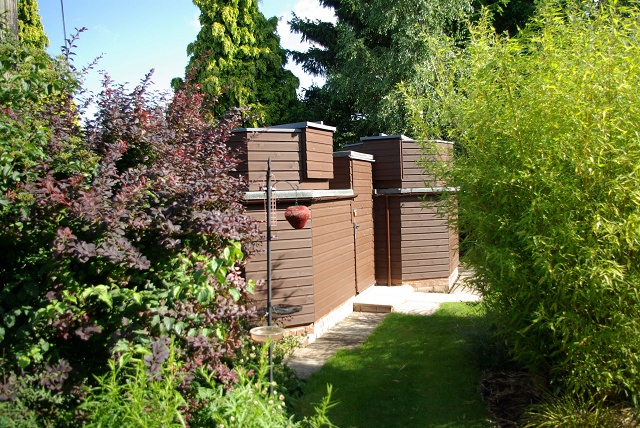
Finally complete, including landscaping.
|
 |
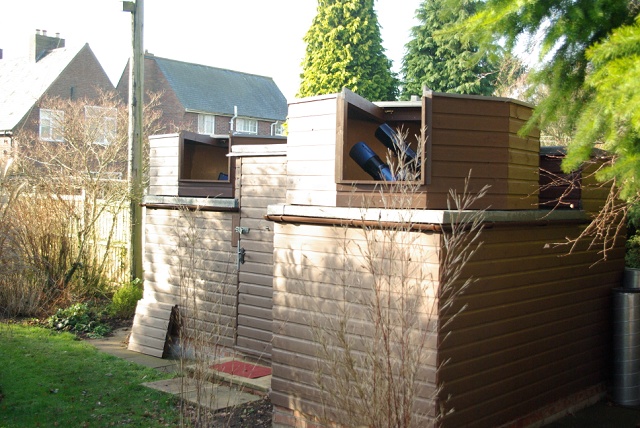
Shutters open ready for action.
|
 |
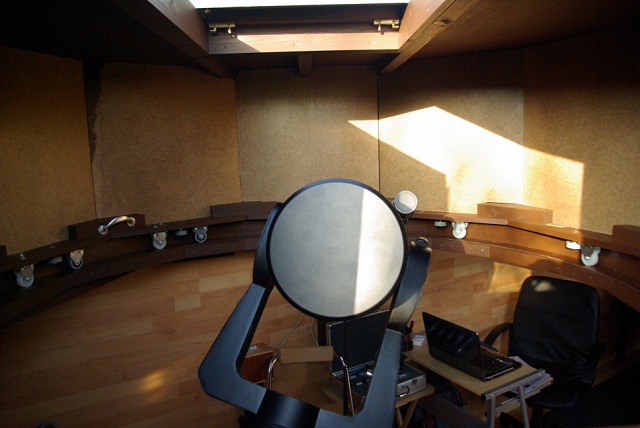
The LX200 installed.
On the left you can see the wheel sets. Originally I used 50mm rubber
tyred wheels. These were no good for supporting the turret in that they
compressed under the weight which made it very difficult to start
rotating the turret.
These were replaced where possible with nylon wheels. In a couple of
places I had to leave the old ones and add an additional nylon wheel as
to the left of the scope. These are much better although a little
noisier.
|
 |
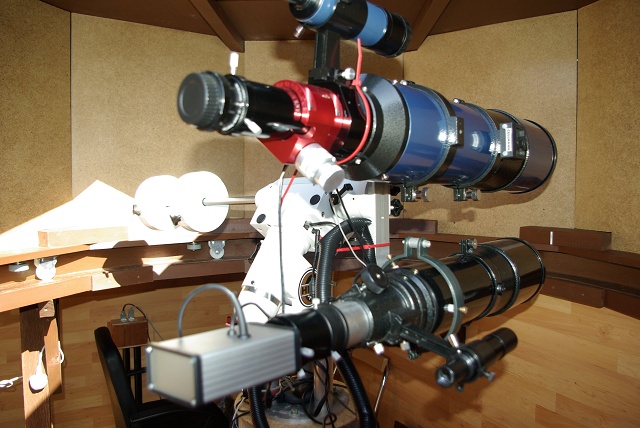
My imaging rig. 150mm f5 Skywatcher refractor with Moonlite focuser.
The guide scope is a 120mm f5 Helios refractor with a modified webcam (
now replaced with Meade DSI). The
mount is the HEQ5 Pro on a custom adaptor.
Cabling runs from the scope to the box by the seat. This includes
mains, active USB and two serial cables for the webcam and the Eqmod
adapter which I use to control the mount from the laptop.
|
 |